Table of Contents >> Show >> Hide
- What “Inviting to a Discord Channel” Actually Means
- Before You Invite Anyone: 5-Minute Setup Checklist
- How to Invite People on PC or Mac (Desktop App or Browser)
- How to Invite People on Mobile (iPhone and Android)
- Advanced Invite Settings You Should Actually Use
- How to Control Who Can Invite in Your Server
- Common Invite Problems and How to Fix Them Fast
- Security and Anti-Raid Invite Strategy
- Practical Growth Playbook: Invites That Convert
- 500-Word Experience Section: What I’ve Learned from Real Invite Flows
- Final Takeaway
You built the server. You picked the icon. You made the channels. You even named one channel
#general-chaos because honesty is a lifestyle. Now comes the part that actually matters:
getting people in.
If you’ve ever sent a Discord invite link and heard “It says invalid,” “Where do I click?” or
“I joined but landed in the wrong place,” this guide is for you. We’ll walk through exactly how to
invite people to a Discord channel on PC, Mac, iPhone, and Android, plus how to control who can invite,
set expiration limits, avoid spam raids, and keep your server growth healthy (and less dramatic).
This is an in-depth, practical guide written for real humans: creators, study groups, gaming squads,
remote teams, fandom communities, and anyone who wants a clean invite flow without turning server admin
into a full-time job.
What “Inviting to a Discord Channel” Actually Means
On Discord, invites are generated from a server and are usually connected to a specific channel.
So when people click your invite, they join the server and typically enter through the channel that
generated that link. In plain English: channel-level invites are your “front door,” but the whole
house is still the server.
That tiny detail matters a lot. If you’re onboarding new members, create invite links from a welcome
or rules channel first. If you’re recruiting for a private project room, use a link tied to a channel
where access is already controlled by roles.
Before You Invite Anyone: 5-Minute Setup Checklist
1) Confirm You Have Invite Permission
If the invite options don’t appear, it’s usually not a bugit’s permissions. You need the ability to
create invites (often called Create Instant Invite) or a broader admin/mod role.
Server owners always retain full access.
2) Pick the Right Entry Channel
Don’t send newcomers directly into #off-topic-memes-and-shrimp-debate. Start with:
- #welcome for first impressions
- #rules for moderation clarity
- #introductions for early engagement
3) Decide Link Lifespan and Usage Limits
Discord lets you control how long an invite stays valid and how many times it can be used. This is
huge for private groups, paid communities, event channels, or staged launches.
4) Plan Your Share Route
Send invites through the right medium:
- Direct messages for trusted onboarding
- Email/newsletter for existing audience
- Social bios or posts for public growth
- Landing page for branded communities
5) Keep One Backup Invite for Moderators
Always keep a fresh, mod-only invite ready. If your public link gets abused, you won’t be locked out
of your own recovery workflow.
How to Invite People on PC or Mac (Desktop App or Browser)
Good news: on Mac and PC, the invite flow is basically identical. You can do this in Discord desktop
or the browser interface.
Method A: Invite from Server Menu
- Open Discord and select your server from the left sidebar.
- Click the server name at the top to open the dropdown.
- Select Invite People.
- Choose a friend directly, or copy the invite link.
- Paste and send via DM, email, or your preferred platform.
Best for: quick invites to people already in your Discord orbit.
Method B: Invite from a Specific Channel
- Open the channel you want new members to enter.
- Click the invite icon/button for that channel.
- Copy the generated link.
- Share it with your audience.
Best for: onboarding into a specific discussion area, class thread, or event room.
Method C: Right-Click a Friend Profile
- Right-click a friend’s profile/avatar in Discord.
- Choose Invite to Server.
- Select your server from the dropdown list.
- Discord sends the invite through DM.
Best for: one-to-one invitations when you’re already chatting.
How to Invite People on Mobile (iPhone and Android)
Mobile is easy once you know where Discord hides the button.
Standard Mobile Flow
- Open the Discord app and go to your server.
- Tap Invite (or the invite option in server/channel controls).
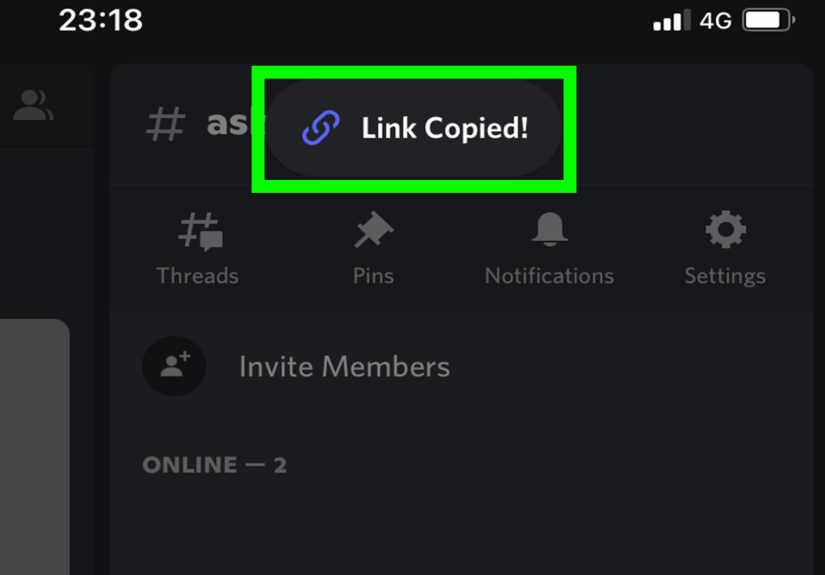
- Tap Copy Link or Share.
- Send the link through text, WhatsApp, email, or any share target.
On iOS, you can also press-and-hold a channel to bring up the mini menu and choose Invite from there.
Handy when you want people entering through a specific channel quickly.
Pro Tip for Mobile Admins
If you’re actively growing a community, save one “safe” invite in a pinned note app entry so you don’t
repeatedly generate fresh links in a hurry and lose tracking context.
Advanced Invite Settings You Should Actually Use
Expiration Time
Time-limited invites are perfect for:
- Live events and AMAs
- Short enrollment windows
- Private launches and beta cohorts
Maximum Uses
Cap usage if you want controlled access. Example: a workshop invite limited to 50 uses so attendance
aligns with moderator capacity.
Pause Invites During Chaos
If your server gets raid activity or sudden spam, pausing invites is a lifesaver. It temporarily blocks
joins through existing links (including vanity-style routes) without forcing you to destroy all your
links forever.
Custom Invite Link for Branding
High-growth communities often use a branded invite URL instead of random code strings. It looks cleaner
in creator bios, event slides, and media kits. Just remember: branded links come with eligibility and
visibility considerations, so treat them like public infrastructure, not private keys.
How to Control Who Can Invite in Your Server
If everyone can generate invites, you lose access control fast. Use role permissions intentionally:
- Admins/Mods: full invite management
- Trusted Members: limited invite permissions in selected channels
- New Members: no invite permission until verified
This structure prevents accidental open-door growth and reduces invite misuse. In other words,
you keep the party alive without handing out infinite guest passes in the parking lot.
Common Invite Problems and How to Fix Them Fast
“Invalid or Expired Invite”
Usually caused by:
- Expired link duration
- Usage limit reached
- Typing/copy error (codes are case-sensitive)
- Link was paused or revoked by admins
Fix: generate a fresh link, verify settings, resend.
“I Can’t See Invite Option”
You likely lack permission. Ask the server owner/admin for role updates or request invite handling via
a moderator workflow.
“Invite Worked, But User Can’t Access Channels”
That’s usually role gating. They joined the server correctly, but channel permissions block visibility.
Assign the correct role or move the invite entry channel to one visible to newcomers.
“I Deleted a Link and Want It Back”
Don’t count on resurrecting an old code. If a link is removed, generate a new one and update every
place where the old link was posted.
Security and Anti-Raid Invite Strategy
Invite links are growth tools, but they’re also attack surfaces. A smart security baseline:
- Use shorter-lived links for public campaigns
- Set a verification level for new users
- Restrict who can create invites
- Pause invites during suspicious surges
- Never run random scripts from “verification bots” on unknown servers
If your server scales quickly, this is not paranoiait’s maintenance. Discord communities that grow
responsibly tend to survive algorithm waves, spam bursts, and “why is everyone posting the same crypto
link?” weekends.
Practical Growth Playbook: Invites That Convert
For Creators
Put your invite in one obvious place (bio, pinned post, newsletter footer), not ten inconsistent places.
Consistency beats scattershot posting.
For Study Groups
Use semester-based links with expiration dates. Archive old channels and refresh links each term to keep
enrollment clean.
For Gaming Communities
Route newcomers into a role-select channel first. You’ll reduce moderation friction and improve voice/text
discovery within minutes.
For Startups and Product Teams
Use invite links per campaign source (launch event, blog, webinar, partner shoutout). Even without perfect
attribution tooling, this creates clearer growth signals.
500-Word Experience Section: What I’ve Learned from Real Invite Flows
The biggest lesson is that “sending an invite” and “onboarding a member” are not the same thing. Early on,
I treated invite links like magic tickets: copy, paste, done. But people joined, looked around for ten
seconds, got confused, and vanished like socks in a laundry portal. Once I started choosing a proper entry
channel, retention went up almost immediately. A friendly welcome message beats raw link sharing every time.
On desktop, invite workflows feel fast and controllable. You can open server settings, check permissions,
adjust link behavior, and copy links without losing context. On mobile, speed is great, but mistakes happen
faster too. I’ve seen admins accidentally share a short-lived event link as if it were permanent, then spend
an afternoon answering “why doesn’t this work?” messages. Now I always label links in my own notes:
public-temp, mod-only, evergreen, and event-YYYY-MM-DD.
One community I helped had a funny but painful issue: their “general” channel was silent, while random side
channels were active. New people joined through an invite tied to a niche channel and thought the server was
only about that one topic. We switched entry to a structured welcome channel with role prompts and a channel
map. Result: more introductions, better channel discovery, and fewer “Where do I post this?” questions.
The invite itself didn’t change muchthe arrival experience did.
Another pattern: people underestimate permission design. If too many members can create invites, your server
can balloon in weird directions. You wake up with new users who don’t know the rules, no idea where they
came from, and mods doing cleanup. Limiting invite permissions to trusted roles felt strict at first, but it
actually made the community friendlier because growth became intentional instead of chaotic.
I’ve also learned to treat security like part of UX. When suspicious traffic appears, pausing invites can
save your sanity. It’s less disruptive than deleting everything and rebuilding from scratch. During one spike,
we paused invites, tightened verification, posted a calm status message, and restored normal access later.
Members appreciated transparency, and no one felt blindsided by broken links.
Mobile invites are underrated for real-world momentum. At events, meetups, or classrooms, someone asks,
“Can I join?” and you can send the link in seconds. But real success comes from what happens next:
clear rules, obvious channels, and a first task (introduce yourself, choose a role, react to a poll).
The best communities remove blank moments after joining.
If I had to boil it down: invite links are doors, not destinations. Your channel structure, permissions,
and welcome flow determine whether people stay. A polished invite strategy feels less like growth hacking and
more like hostingopen the right door, greet people clearly, and guide them where they can participate
immediately. Do that, and your Discord channel stops being “another link” and starts becoming an actual
community.
Final Takeaway
Inviting people to a Discord channel on PC, Mac, or mobile is simple in mechanics but powerful in strategy.
The best admins don’t just share linksthey design entry paths. Use role permissions, tune invite settings,
secure public access, and build a welcome flow that makes joining feel effortless.
Your next invite should do more than open a server. It should start a conversation worth staying for.